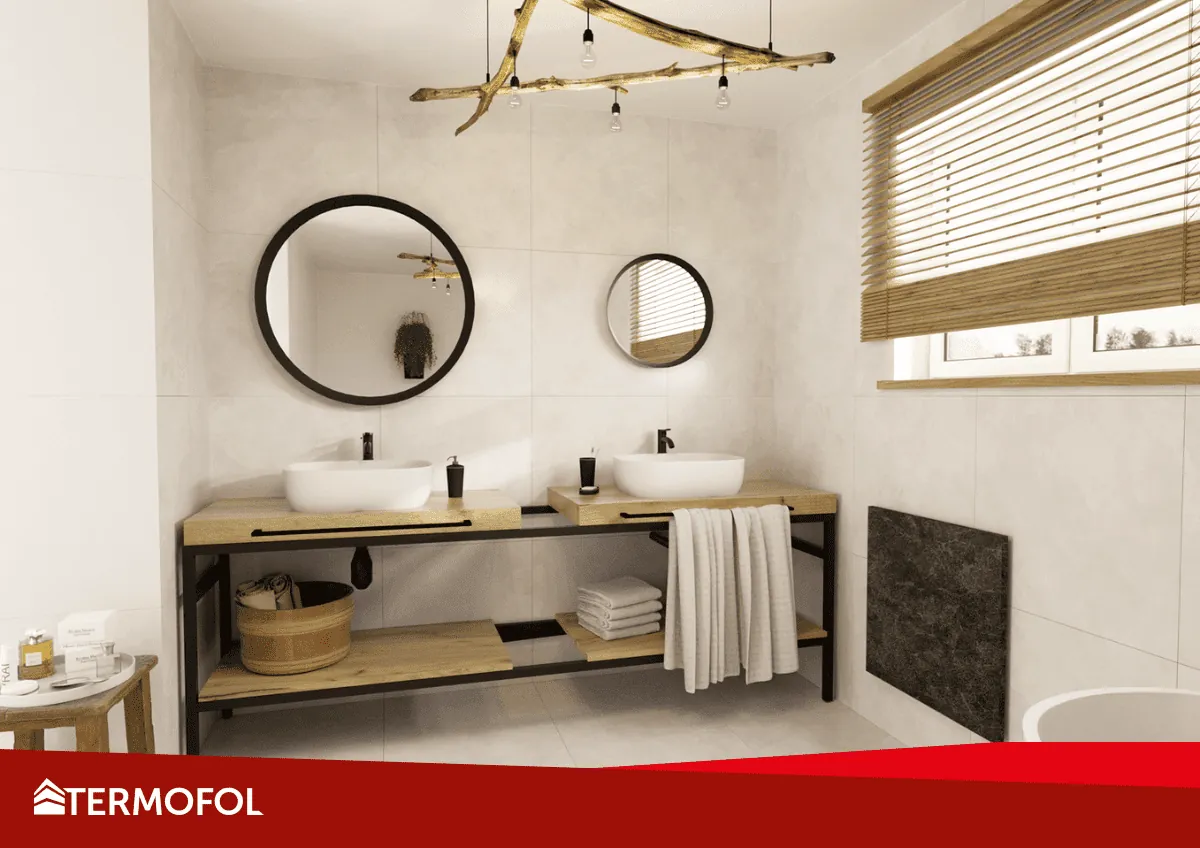
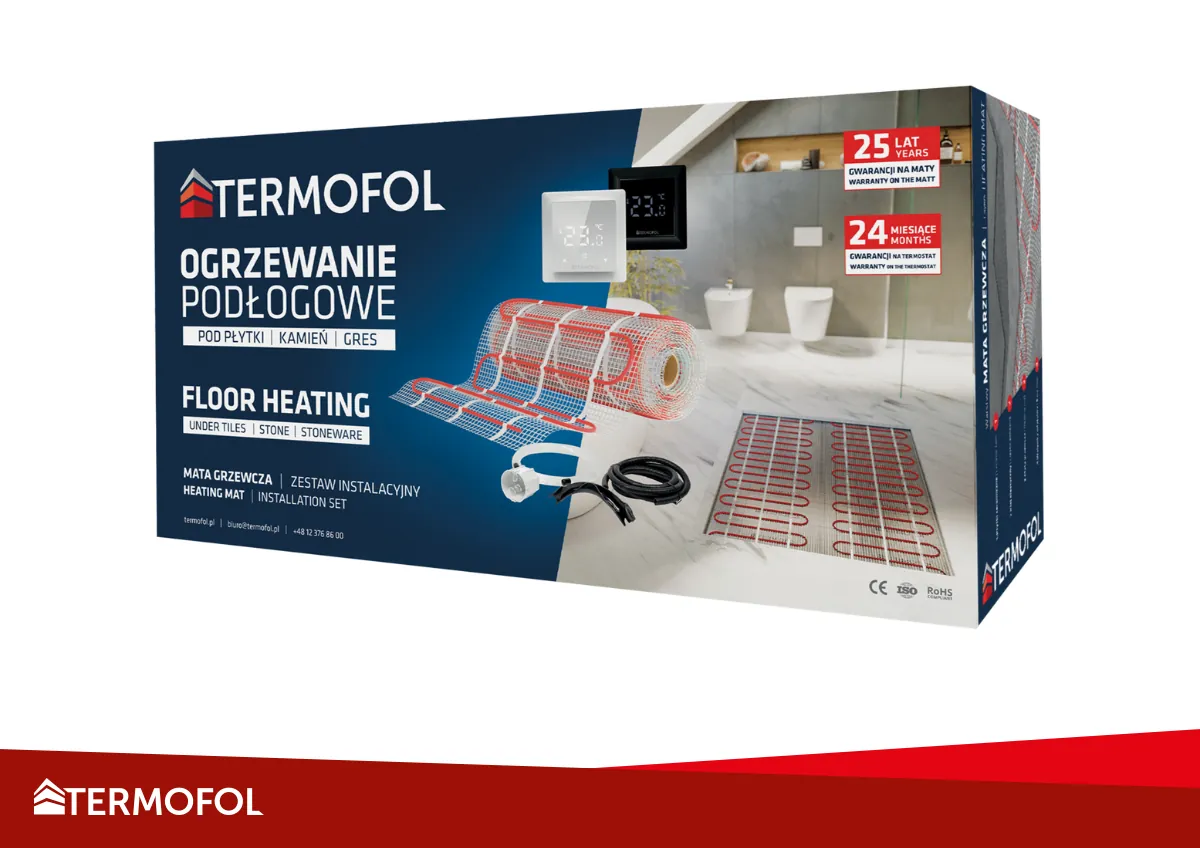
Electric underfloor heating with mesh heating mats is a simple way to ensure thermal comfort in the bathroom, kitchen, or living room. The versions available in Termofol kits allow for installation without the need for a professional installation team, and the complete set of components in the box ensures that the installation is quick and uncomplicated.
In this guide, we explain how to install a heating mat under tiles and answer the most common questions from customers.
Why choose a DIY heating mat kit?
When you purchase an heating mat kit with a thermostat, you receive a complete package: a mesh heating mat, connection wires, a temperature sensor, and a modern thermostat (also available in a Wi-Fi version for smartphone control).
This means:
- Cost savings on installation – no need to hire professionals.
- Assured compatibility – all components are matched and tested together.
- Easy installation – following the step-by-step instructions, without the risk of losing the warranty.
- Power adjustment to the room – you choose the heating power suitable for your needs.
Step 1 – Preparing the substrate
How to prepare the substrate for the heating mat?
- The surface should be level, clean, and dry.
- Remove dust, remnants of mortar, and loose elements.
- In rooms with increased humidity, use moisture-proof insulation.
Step 2 – Planning the layout of the mat
- The mat should not be laid under fixed installations (bathtubs, showers, cabinets).
- Maintain a gap from the walls (about 5–10 cm).
- Plan the route for the power cable to the thermostat and the location of the temperature sensor.
Step 3 – Installing the heating mat
How to lay the heating mat step by step?
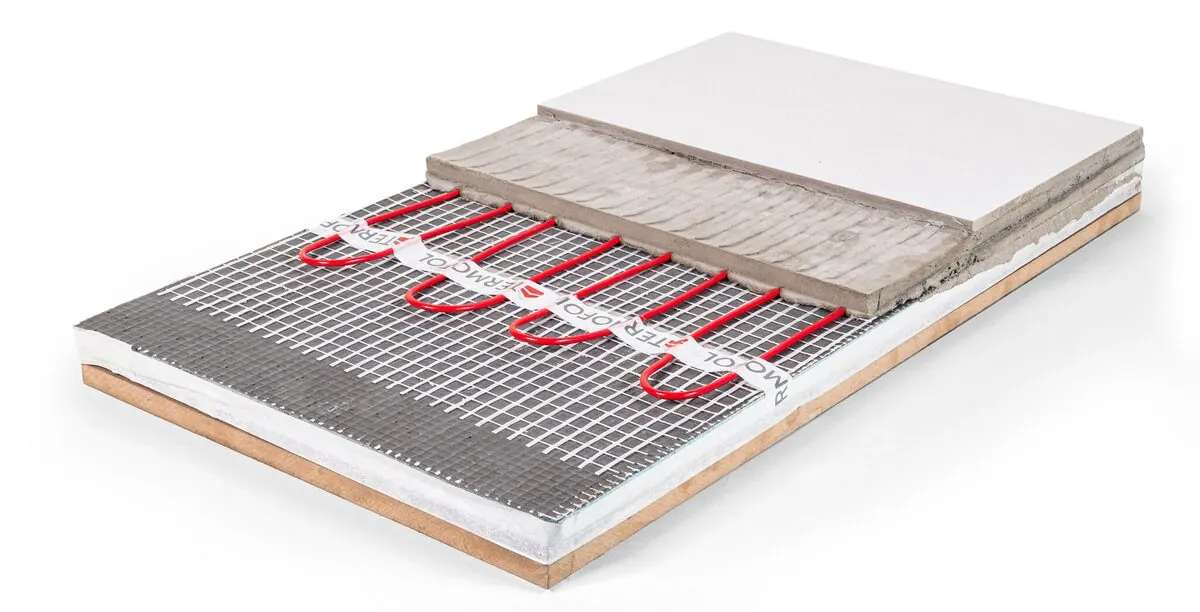
- Unroll the mat on the substrate, adjusting its layout to the shape of the room.
- Change the direction by cutting the mesh (not the heating wire!) and rotating the sections.
Step 4 – Installing the sensor and connecting the wires
- The sensor is placed in a protective tube between the wires of the mat, in the central part of the heated area.
- Connect the wires to the thermostat according to the manufacturer's diagram.
- The connection to the electrical installation should be performed by a qualified electrician.
Step 5 – Laying the tiles
- Cover the mat with a layer of flexible adhesive.
- Lay ceramic or stoneware tiles on the leveled surface.
- Avoid sliding the tiles over the surface of the mat to prevent damage to the wires.
Step 6 – Turning on the heating
- Wait for the mortar or adhesive to fully dry.
- Turn on the heating by setting the temperature on the thermostat – in the Wi-Fi version, you can do this from your phone.
Frequently Asked Questions
- How much electricity does the heating mat consume?
It depends on the power, area, and operating time – in well-insulated rooms, it is very economical.
- Can the heating mat be the only source of heating?
Yes, with proper insulation of the building and appropriate power selection.
- How long does it take to install the heating mat?
Usually a few hours, depending on the area and the experience of the installer.
- Does DIY installation affect the warranty?
No – provided that the installation is done according to the instructions and electrical connections are made by a qualified electrician.
- Can the heating mat be installed under any type of flooring?
Mesh heating mats are primarily intended for installation under ceramic tiles, stoneware, or natural stone, as they are laid in a layer of flexible adhesive. For wooden floors or laminate panels, heating films are usually used instead of mesh mats. It is important to always follow the recommendations of the flooring and mat manufacturer.
- Is the heating mat safe to use?
Yes – provided it has been installed according to the instructions and connected by a qualified electrician. The mats have insulated wires, are moisture-proof, and are designed for use in home conditions, including in rooms with increased humidity, such as bathrooms. Additionally, the systems are controlled by thermostats with temperature sensors, eliminating the risk of overheating.
- How long does it take for the heating mat to warm up?
The heating time depends on the thickness of the layers above the mat, the type of floor finish, and the heating power. For standard thickness ceramic tiles, the first noticeable warmth usually appears after 10–20 minutes from activation. Full heating of the floor can take from 30 minutes to an hour.
- Can the heating mat be cut?
You can only cut the installation mesh on which the heating wire is placed – never the wire itself. This allows you to change the direction of the mat layout to fit the shape of the room. Damaging the heating wire can cause a malfunction and void the warranty.
- How to set the heating mat thermostat to save energy?
The best results come from using programmable schedules – heating only turns on during the hours the room is used. In the bathroom, it is advisable to set a higher floor temperature in the morning and evening, while maintaining a lower temperature during the day. Wi-Fi versions allow for heating control from an app, enabling you to lower the temperature when no one is home and turn the system on just before returning.
Why are Termofol heating mats a good choice?
- Complete kits – everything in one package, ready for installation.
- High quality and durability – tested components, designed for intensive use.
- Modern control – Wi-Fi thermostats and programmable temperature controllers.
- A brand with experience – Termofol has been operating for years, providing advice and support after purchase.
A heating mat for tiles in a kit is a simple way to achieve a comfortable and warm floor in the bathroom, kitchen, or any other room. Thanks to Termofol's ready-made kits, installation is quick, and the effects are felt from the very first day of use.
 +48 12 376 86 00
  Downloads
  biuro@termofol.pl


 Blog Termofol
 Published: August 14, 2025
  Reading time: 5 minutes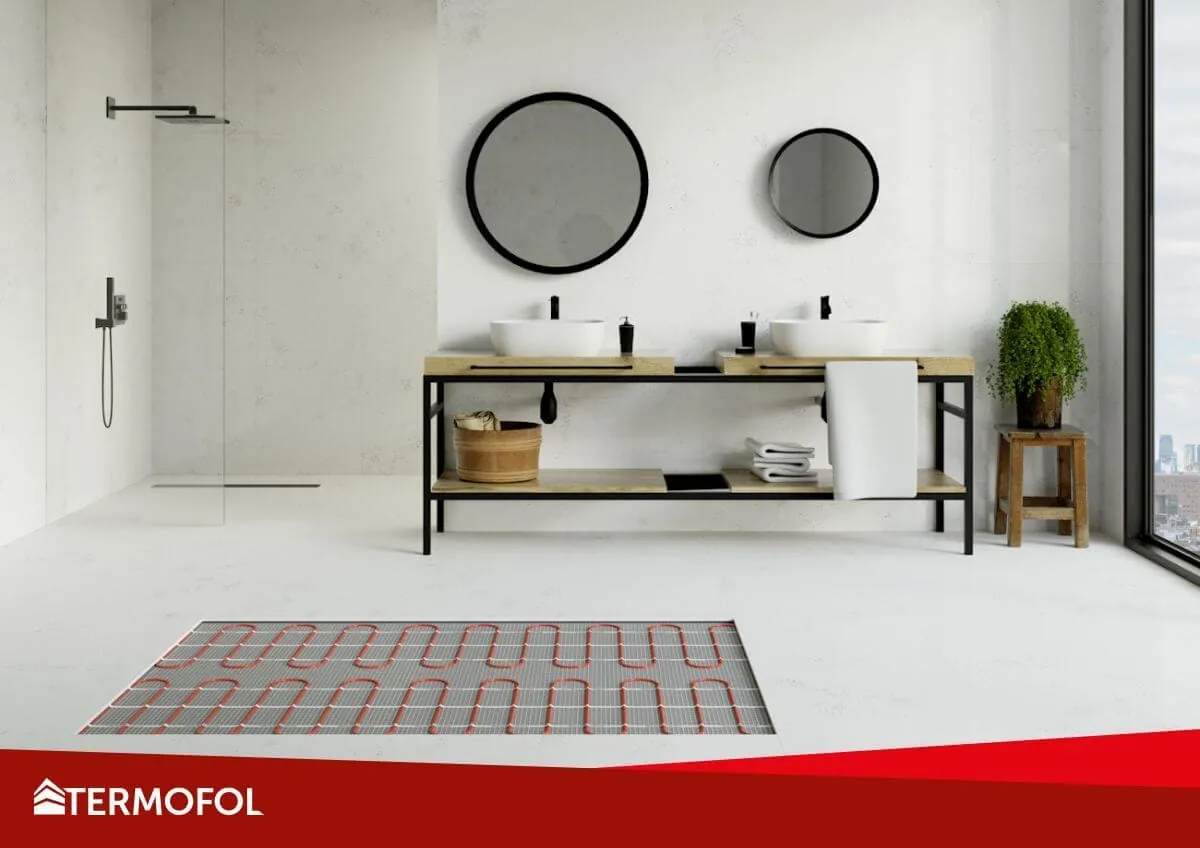
 General information