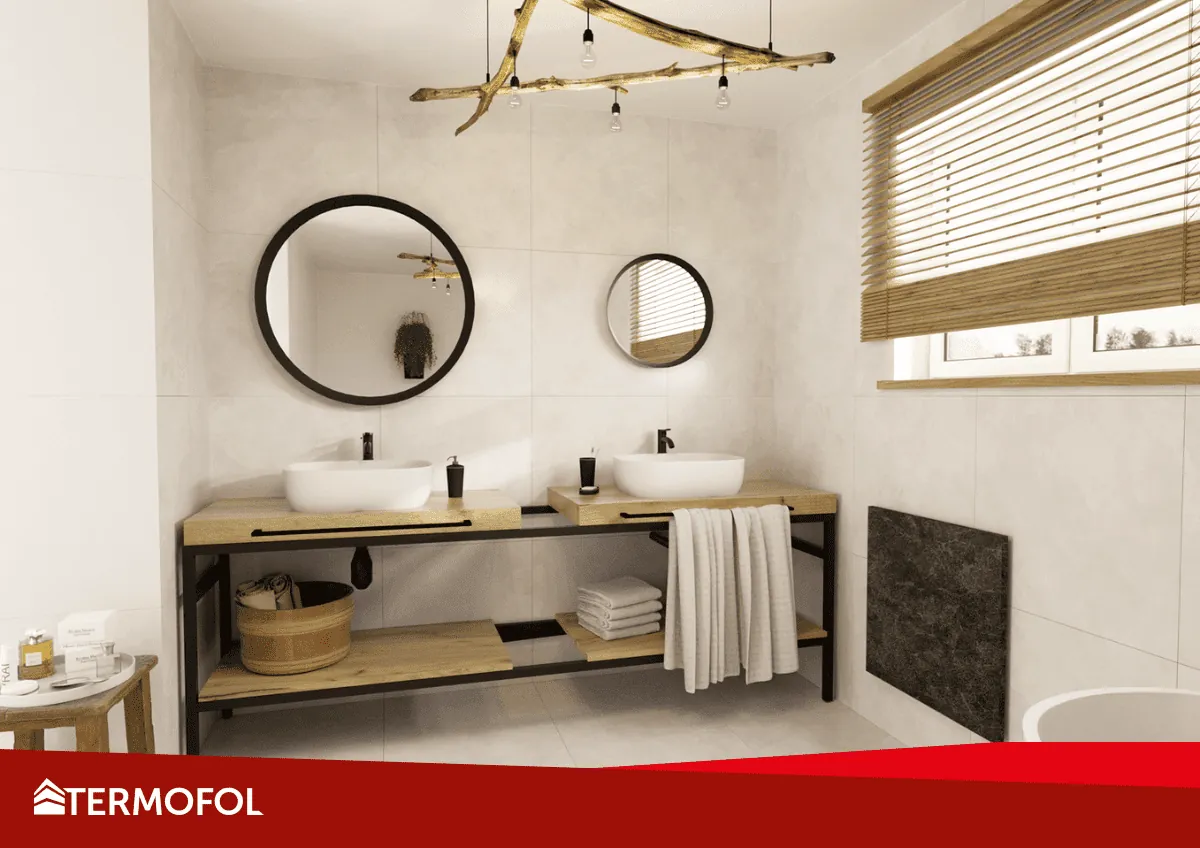
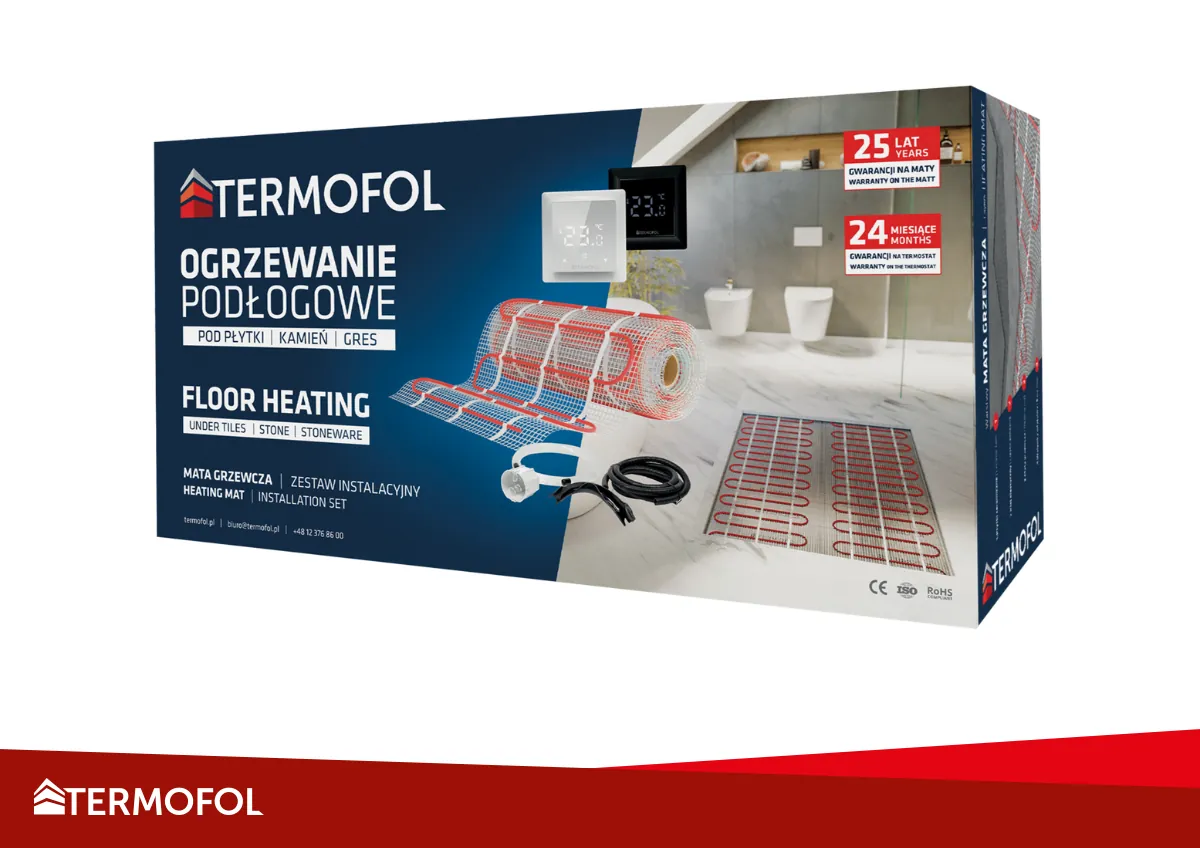
Underfloor heating with heating film is one of the most convenient and effective solutions for those looking for alternative methods to heat their homes. However, many people are afraid of installing such heating on their own. In this article, we will present step by step how to install underfloor heating made of heating film by yourself and enjoy warmth in your home without hiring a specialist.
Infrared heating films have gained increasing popularity in recent years. One reason is the simple installation that can be done on your own. As a result, the costs of the entire system are lower than with traditional radiators or water underfloor heating. The simplicity of installation means that anyone with basic DIY skills can handle the installation of heating films.
Preparing the Substrate
Installing heating film as an underfloor heating system requires proper preparation of the floor surface. Therefore, before starting the installation of the heating film, several key steps must be taken to ensure the correct and safe operation of the system. In the following article, we will discuss how to prepare the substrate for the installation of heating film.
Cleaning the Floor Surface
The first step is to thoroughly clean the floor surface. Any dirt, dust, grease, and adhesive residues must be removed. If the floor is made of concrete, ensure that there are no defects or damage. The moisture level of the substrate should be as low as possible. In the case of wooden floors, check that the wood is dry and free from rot.
Leveling the Surface
Next, the floor surface must be leveled. If there are unevenness and depressions, they should be filled with leveling compound. You can also use special leveling boards or self-leveling compounds that will level the surface and prevent damage to the heating film.
Checking Insulation Thickness
Another important element of preparing the floor surface is checking the thickness of the insulation. If the insulation is insufficient, it should be supplemented.
Preparing Tools
Before starting the installation, prepare the appropriate tools, including a measuring tape, scissors, adhesive, insulating tape, and a screwdriver. Tools for cutting holes in the insulation and finishing wire ends will also be useful.
Making a Groove for the Floor Sensor
Before laying the insulating underlay, a groove must be made in the floor where the protective tube will be installed, and in it, the floor temperature sensor will be placed. The groove should be made so that its beginning is located at the point where the heating film will be laid in a later stage.
Laying the Insulating Underlay
The first layer of the system is the insulating underlay. If the floor finish will be vinyl panels or engineered wood, then a hard XPS type underlay should be used. The underlay should be laid over the entire floor surface. Joints are glued with tape. Where the floor sensor is located, a hole of 4×4 [cm] should be made in the underlay.
Laying Heating Films
The next step is to lay the heating films on the floor surface in such a way that they cover as much area as possible. If necessary, trim it to the appropriate length. When laying the heating film, avoid fixed installations. The strips of film are connected in parallel using LgY type wires. It is important to properly insulate the heating film.
Before purchasing and subsequently installing infrared heating films, you need to choose the appropriate power. We discussed this topic in the article "How to Choose the Power of Heating Film?".
Connecting the Heating Film to the Thermostat
The next step is to connect the heating film to the thermostat. Make sure that the electrical wires are correctly connected according to the manufacturer's instructions and that they are properly secured.
Are you going to install heating film and don't know which thermostat to choose? You can find a wide selection in the online store of Termofol.
Mounting the Thermostat
The final stage of installing the heating film is mounting the thermostat. Remember that the thermostat should be placed in an easily accessible location, allowing for easy temperature control.
In summary, installing heating film is a task that can be done independently, provided you have the right tools and know the installation principles. It requires accuracy and adherence to the manufacturer's recommendations, which will ensure not only the correct operation of the system but also its safety.
Testing and Starting the Heating Film
After completing the installation of the heating film, an important step is testing and starting the system. To ensure that everything works correctly and the system is safe, several steps must be taken.
The first step is to check the correctness of connections and insulation. Make sure that all connections are made according to the installation instructions and are properly insulated. Otherwise, this may cause damage to the system or accidents related to electricity. The next step is to perform electrical measurements and compare them with the values provided in the instructions.
Next, turn on the thermostat and check if the heating film works correctly. Ensure that the temperature rises gradually and is consistent with the thermostat settings. You can use a thermal camera to measure the temperature at various points on the heating film and ensure that it complies with the manufacturer's recommendations.
If you encounter any problems with testing or starting the heating film, contact the specialists at Termofol for advice and technical support. Do not attempt to repair the system yourself if you do not have the appropriate knowledge and experience, as this may lead to dangerous situations.
After installing and starting the system, you need to set the hysteresis. You can read about what it is and why it is an important parameter for heating with infrared films in our article "What is Hysteresis? How to Set it Correctly?".
Summary
In summary, installing underfloor heating with heating film is not a complicated process but can be done independently, provided you have the right knowledge and tools. In this article, we discussed the steps to take to properly prepare the substrate, lay the insulating underlay, lay the heating film, trim it to the appropriate length, connect the heating film to the thermostat, and mount the thermostat.
Underfloor heating with heating film offers many advantages, such as even heat distribution in the room, no need to use radiators, which increases the freedom of interior arrangement, and space-saving. Additionally, heating film is safe for health. The installation of underfloor heating with heating film is simple, and the benefits derived from it are significant, so it is worth dedicating time and effort to install it correctly.
 +48 12 376 86 00
  Downloads
  biuro@termofol.pl


 Blog Termofol
 Published: May 8, 2023
  Reading time: 6 minutes
 General information